
If you are at a thrift store or garage sale and see dining chairs at a reasonable price, buy them! It’s amazing how easy it is to makeover a chair. Plus, chairs are actually expensive to purchase new, so any time you can give a chair a makeover it’s a WIN!
While I was in Florida, I had the opportunity to recover some dining room chairs, passed on to me from my grandfather. I remembered this set from my childhood and although the chairs were dated, I thought they had potential. The dining room table seats ten and I knew it would be perfect for our large family.
I had never recovered chairs before but with the help of my family I knew we could figure it out.
How to Recover a Dining Room Chair
Materials
- Upholstery fabric
- Staple gun & staples
- Iron
- Drill/ Screwdriver
- Scotch guard
Instructions
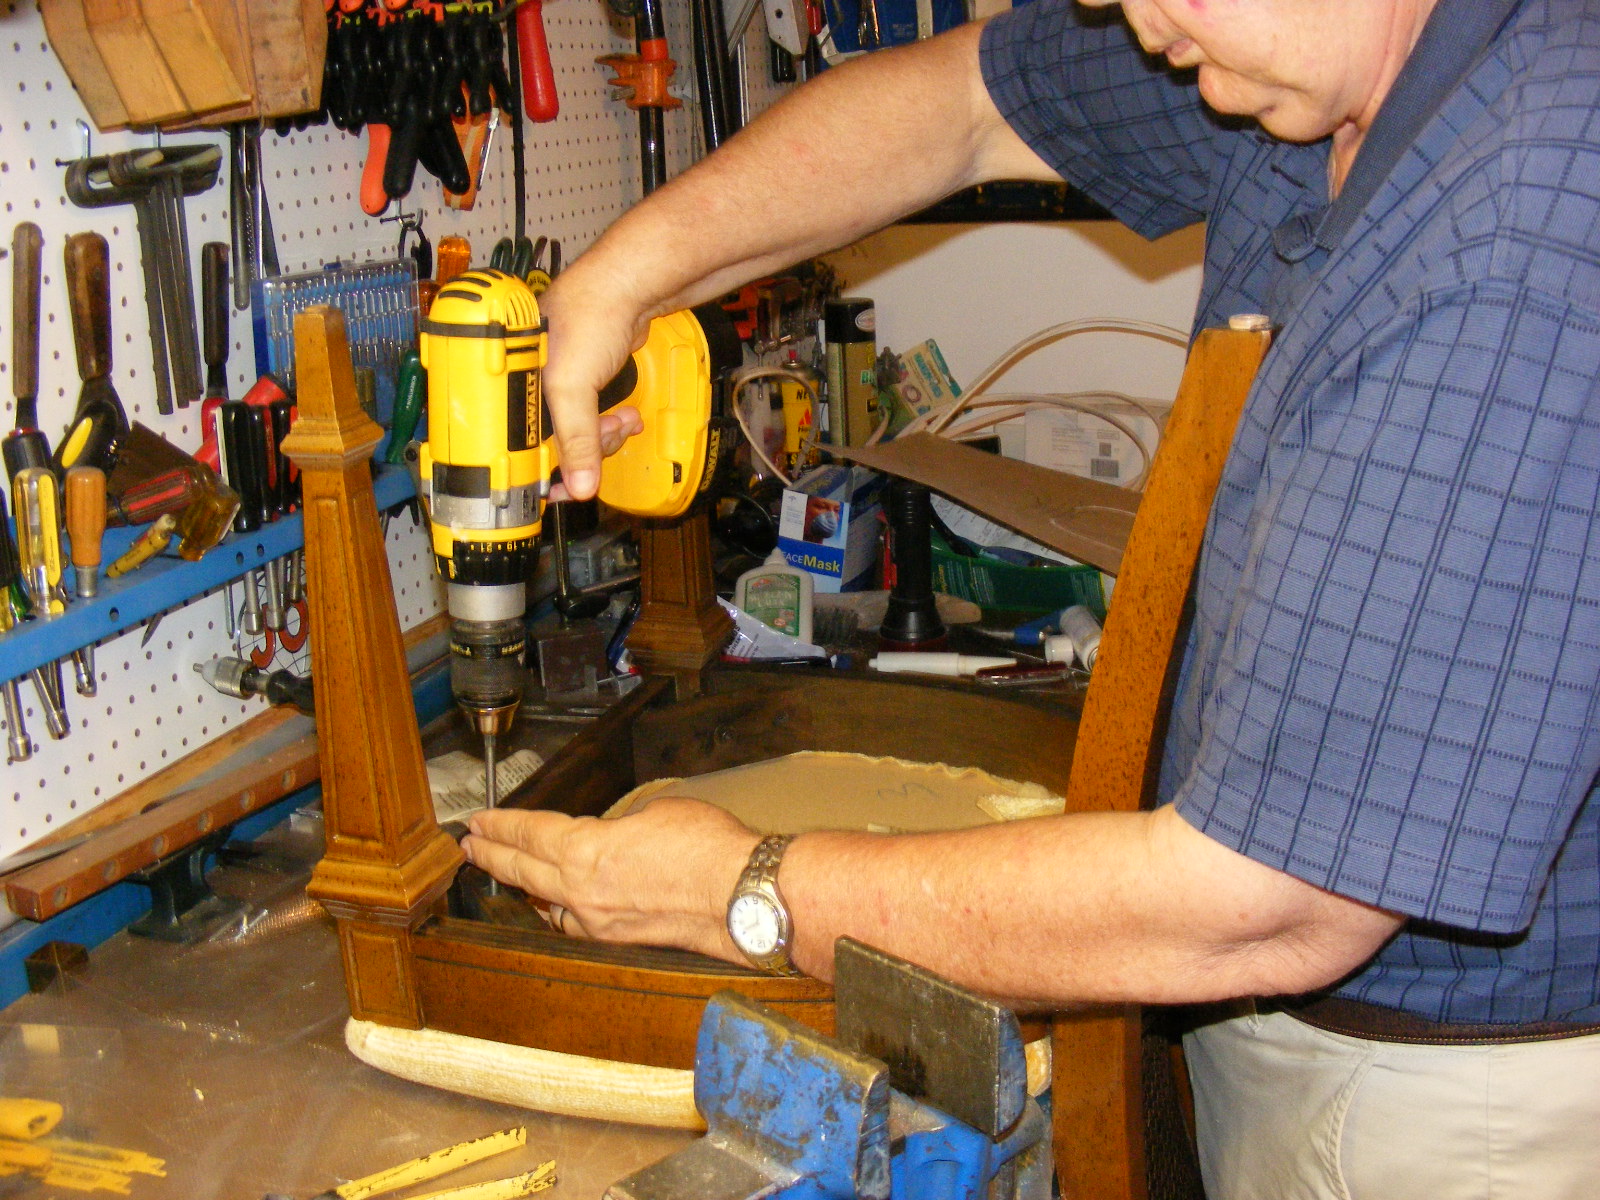
- Unscrew the seats from the chair frame.
- Remove fabric from the seat cushion.
- Remember to save the fabric from one cushion to use as a template.
- Using the old chair fabric, cut fabric for new chair covers.
- Iron fabric.
- Spray with Scotch Guard (optional)
- Attach fabric to chair cushion with staple gun. Pull as tight as possible.
- Screw chair cushion back on chair frame.
Before
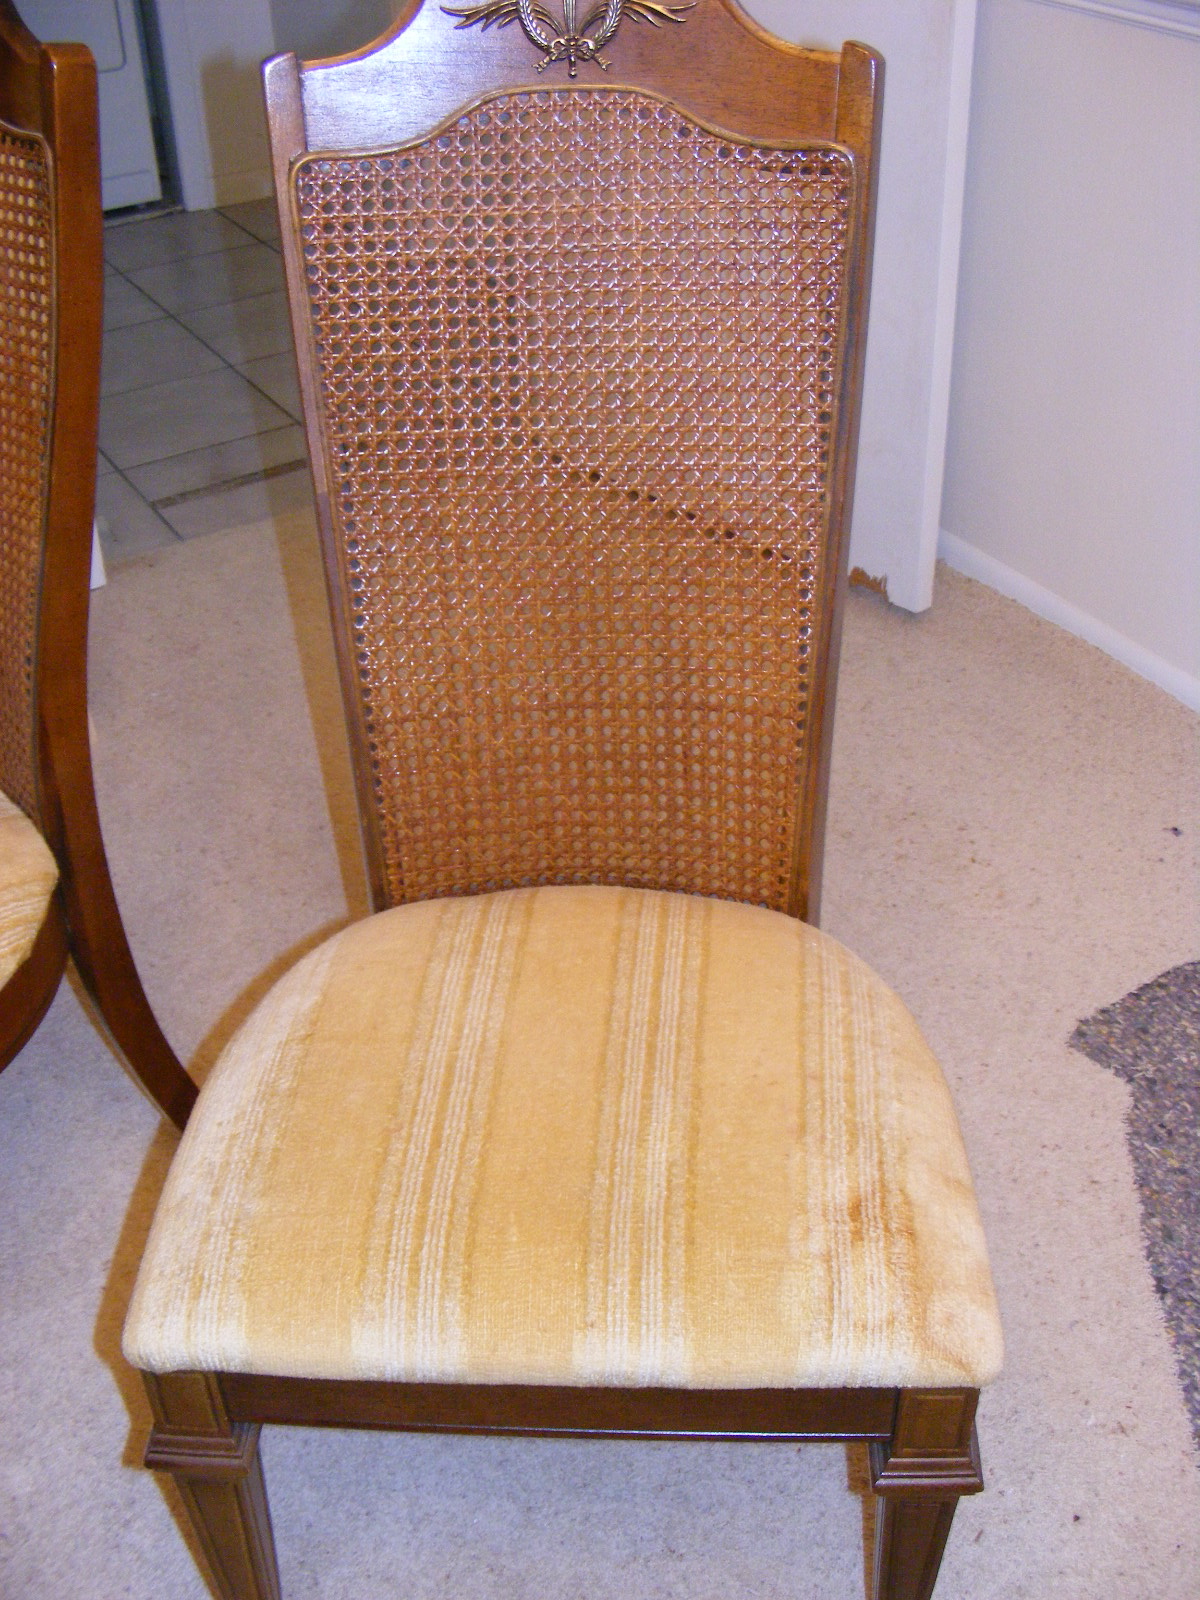
First we removed the seat cushions from the chair.
Then we removed the fabric from the cushions. For one cushion we were very careful while removing the fabric so that it would not rip.
We would use the fabric as a template for the new cushions. 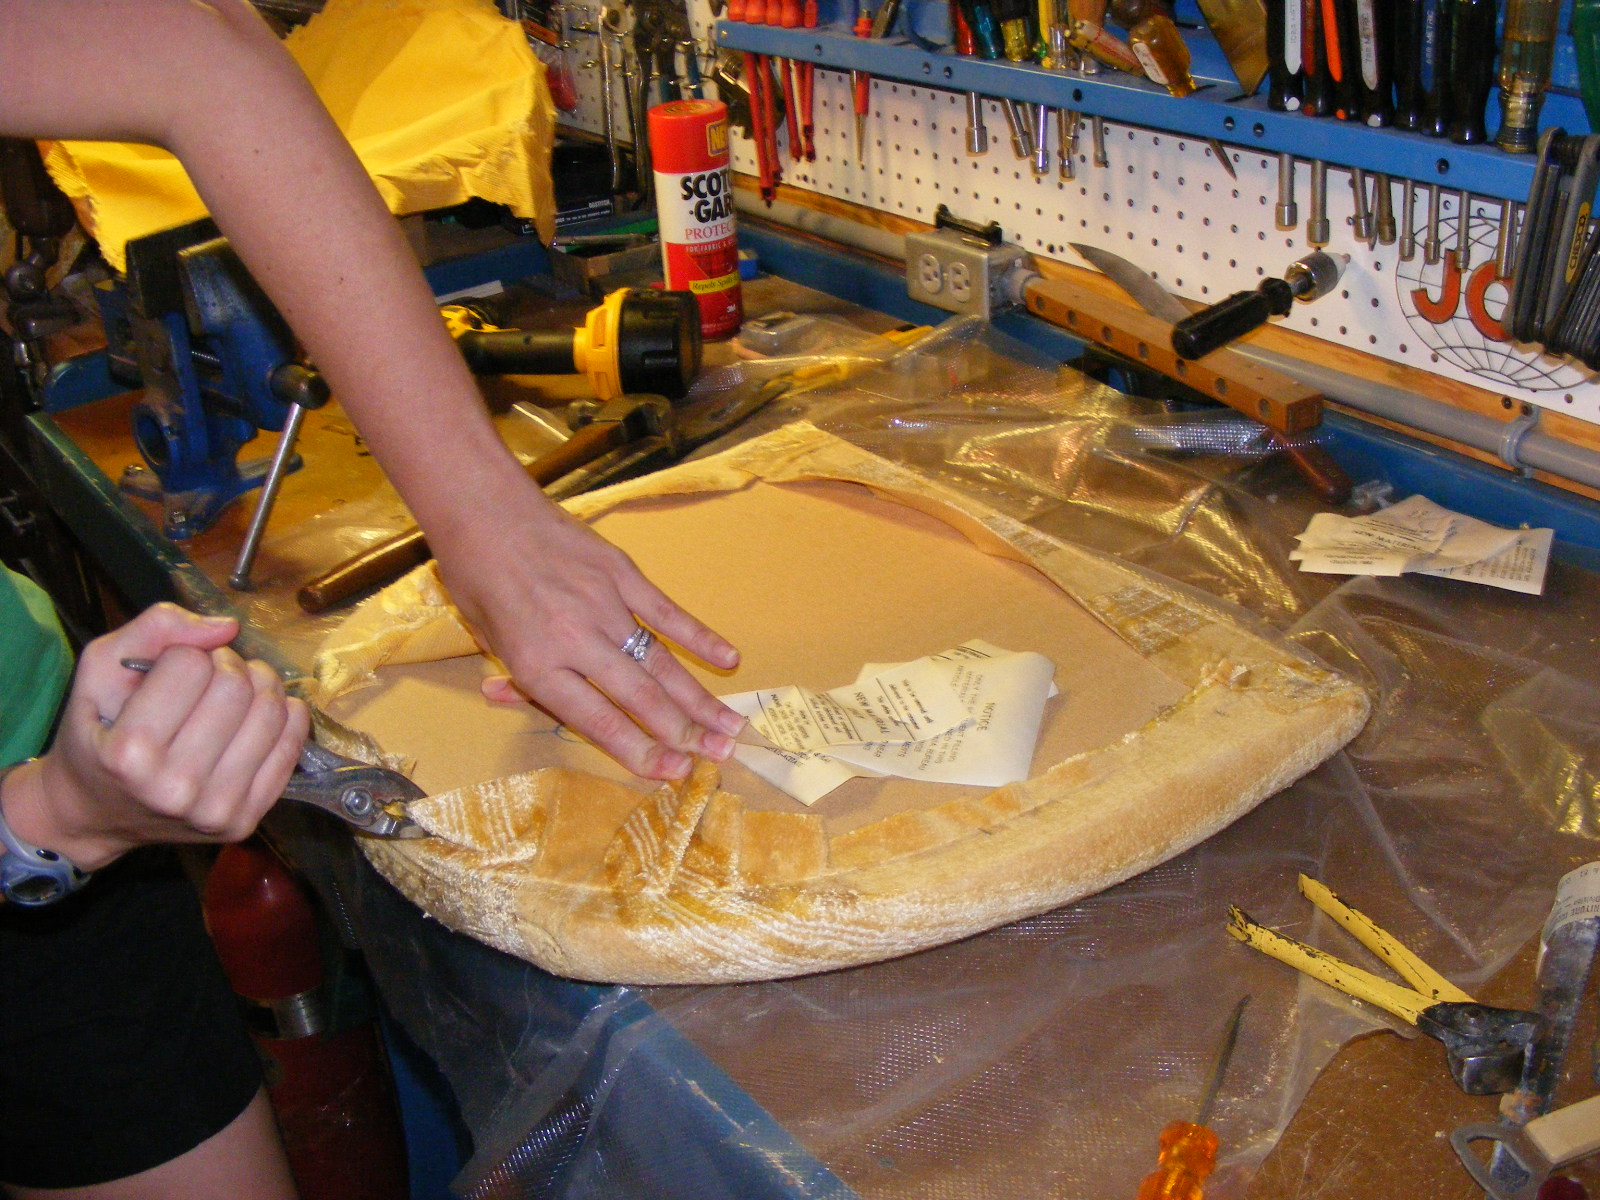
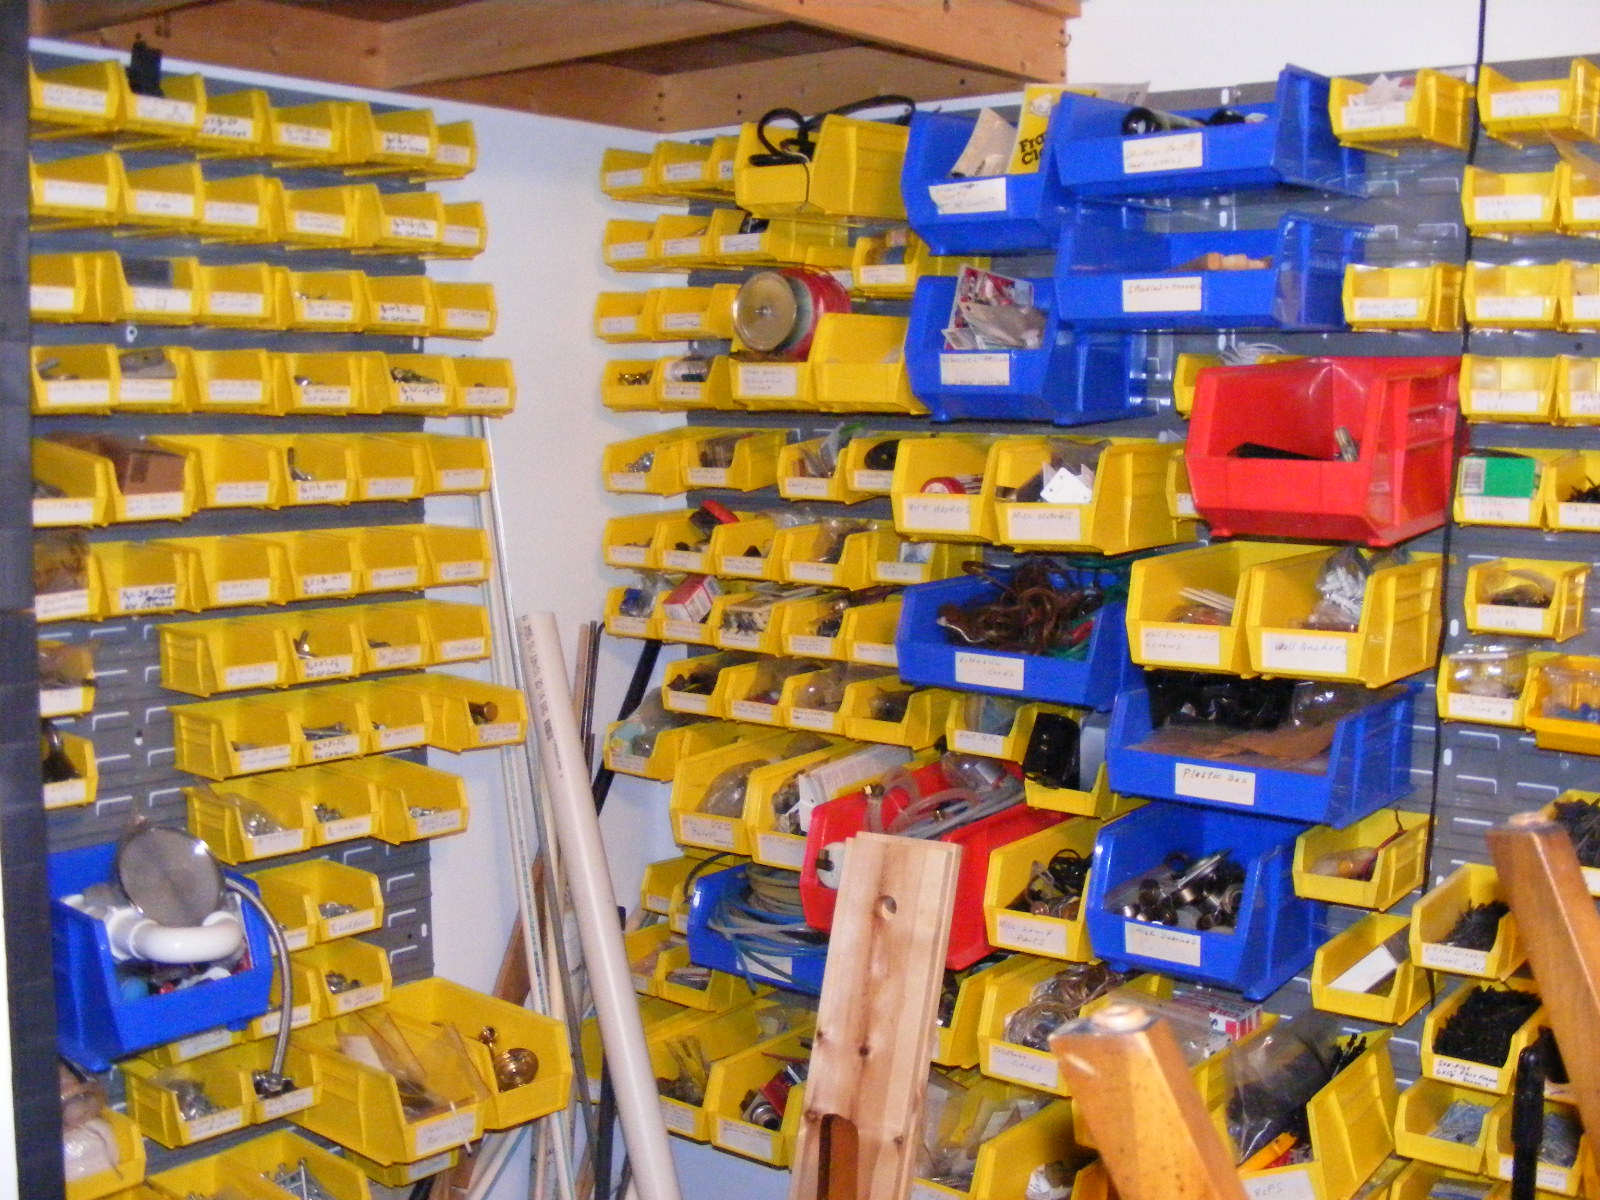
All projects are made easier when working in a room that has these types of tools and supplies.

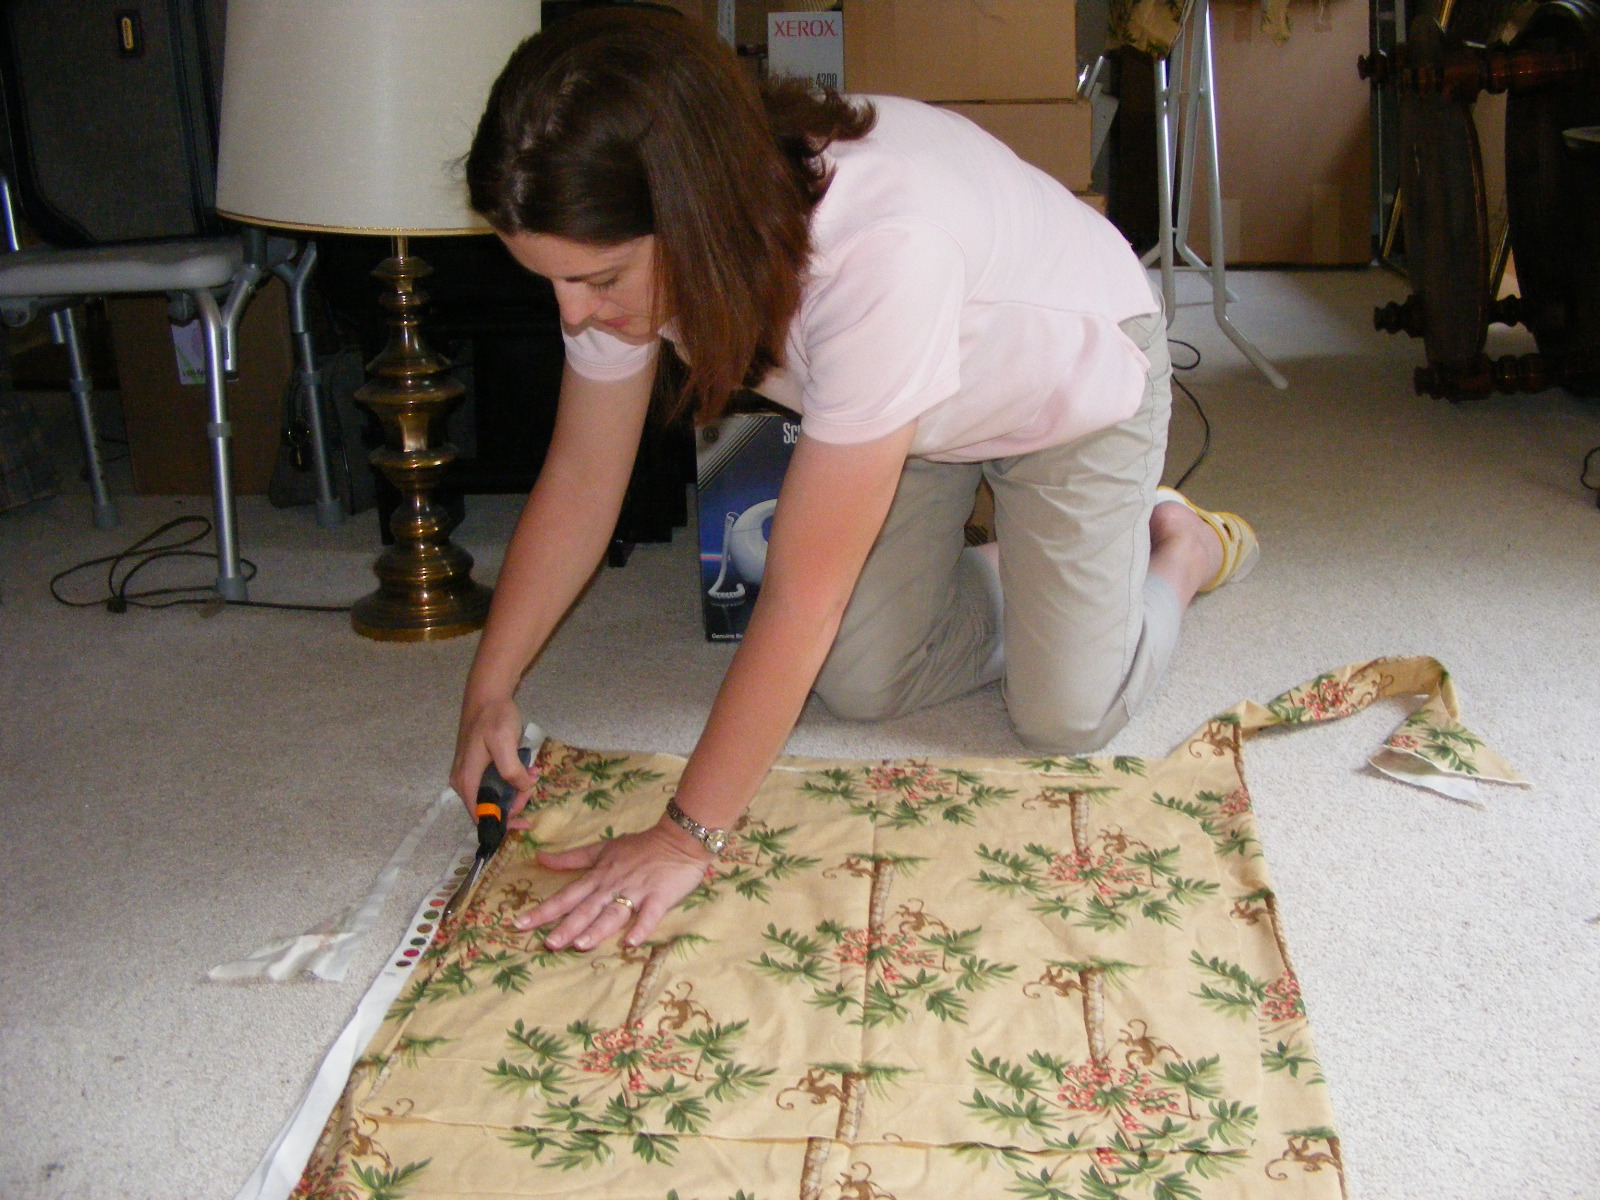
Using the old fabric as a template we cut out the new chair covers.
Make sure you are using upholstery fabric for this project. Regular fabric will not hold up to the wear and tear a chair normally gets. Upholstery fabric is thicker and more durable.
We ironed the new fabric and sprayed it with Scotch Guard. Even though I really dislike to iron, it is so important to iron any fabric projects.

Before you think I am nuts, the floor we are working on is being replaced. I would not normally do a project like this without protecting the working area first.
Then we used a staple gun to attach it to the seat. My advice for this part is wrap your fabric like you are wrapping a present. Pull it tight and have someone else hold it while you staple.
Stapling the fabric to the chair is definitely easier when you have a second person helping. It can be done by one person, but you get a tighter pull when one person holds the fabric taut and one person stables.

We removed the gold emblem from the top of the chair and reattached the cushions.

I recovered these chairs fourteen years ago. If I was doing the same project today I would have painted the chairs first before recovering them. Painted furniture is very popular and even cane back chairs come to life with a fresh coat of paint.

Liz says
They look great. We’ve done this before. I’ve never done it, but heard a tip to use outdoor fabric. Easy clean up with kids.
Nancy says
Don’t laugh…we had chairs just like these (and a table!). I recovered ours, too!
Kelsey says
How cool is that!!
candace says
Great job.
I love to see projects like this.
They look nice!
Yolanda says
Very Nice!
mom2fur says
Great job! That fabric is fabulous. My mom used to recover our dining room chairs every few years. It really made a difference in the whole room!
Bridget says
WOW!!! That looks AWESOME!!! Reminds me of my Mom growing up. She’d get old caned chairs like that (where the caning was broken) and she would re-cane them!! She had taken a class to learn how to and her finished projects were incredible!!! Most of the chairs would come from people throwing them out in their trash!!!!
Great job!!!!!
momawake says
You did a nice job. I need to do that with our chairs. Now I’m encouraged I can do it. : )
Dianne says
You did a great job and the chairs look beautiful! You made it look very easy. We had a old diningroom set that I refinished before we moved ( I sold it because we no longer have a diningroom). That was a lot of work but I was happy with the results.
I liked the fabric that you chose.
Amanda @ Serenity Now says
Much better!!! 🙂 Love the “after.” I like your fabric. Visiting from Kimba’s party. 🙂
m says
Awesome!
m ^..^
kirstin says
What a terrific job! I’ll be scouring my Goodwill for a chair to recover… 🙂
We have a Friday Fun Find party (on fridays, obviously)- we’d love it if you’d link up!
Cathy says
Very Nice! I love the monkeys in the trees too! 😉 Great job.
Jennifer Juniper says
I seriously almost had a heart attack when I saw you painting over your wood floor! Whew, glad you’re not nuts 🙂
TheHappyHousewife says
I knew people would freak out about that! The floor was being replaced due to a plumbing leak, so we decided to work indoors, and away from the Florida humidity. 🙂
Sarah says
It’s really easy once you dive in isn’t it? Chairs look great!
Angie @ The Country Chic Cottage says
Thanks for the tutorial!
Emily N. says
I love the fabric you chose. isn’t recovering the best? 🙂
~ Emily N. from “too Blessed to Stress”
anna see says
great job! don’t you just love a makeover like this? i’m sure you’ll enjoy those chairs.
Nancy says
How great to give an old treasure new life! Enjoy many happy meals around your “new” dining set!
~Nancy
Jenny says
is it necessary to lay the fabric from back to front following the straight of the grain (as it came off the roll)? i was told to do this to prevent pouching over time but i dont see that mentioned anywhere on any diy websites and i kind of like my pattern the other way…thnx for any advice